**Click HERE to check out my post at the Cut Card Stock Blog
**pan down to check out my tutorial and the recipe so you can make this box card for yourself
Tutorial
*choose your supplies-cardstock and adhesive
*choose your die and cut your white card stock base 2 times using Basis white card stock...this is the Jaded Blossom Scallop Caddy die which actually creates a box...so as a result I cut the bottom of the box off following the score lines...fold on the score lines leaving one back scalloped side unfolded and adhere the side tabs to each piece.
*Then cut a piece of white Basis 110 lb cover stock into a 1x4" strip. Score in from each side approximately 1/4" using a Martha Stewart Score Board...now adhere the folded edges to the inside of your little box that you've created-place the glued tabs or folds opposite so the box card will fold flat.
**Now get ready to decorate the heck out of this cute box...I grabbed all my dies and started die cutting...first I die cut the layer of the Scallop Caddy Dies out of Stardream Metallic aquamarine card stock and applied one as the background of my card and then cut the other one in half and applied the square bottom piece to the from bottom layer of the box...then I glued the flap over it...then I applied the Scallop top half piece to the folded scallop flap. I then cut the Coral Metallic cardstock with the bow die and a border die strip and applied it to the edge of the flap to give a finished look.
**I then wanted to have some elements to appear like they are floating...so I grabbed my Ric Rac Topper die and cut it out of acetate and sandwiched this over my strip in the center of my box card...this left me with the arched handle to apply pieces to...I also cut a 1/2" acetate strip 4" long to apply to the acetate handle so I could get a little height from my die cuts
**I then cut a rabbit using the a Jaded Blossom rabbit die with Basis Cover card stock in brown(chocolate bunny!!)
**I also cut some eggs from the Stardream Metallic card stock in coral, lapis lazuli and rose quartz
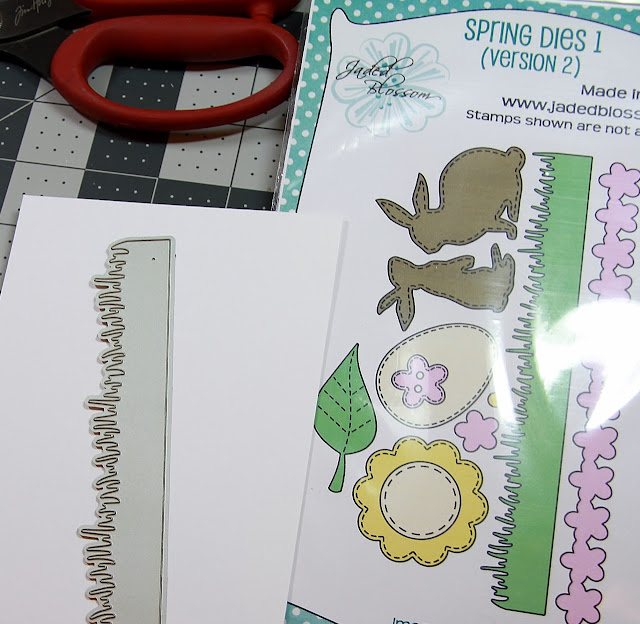
**Then some grass out of White Basis 110 lb cover stock...I trimmed this to fit inside my box
**I coloured the white card stock with a Spectrum Noir CG1 marker
**oops-can't forget my butterflies-this one was in Stardream Metallic rose quartz
***I quickly adhered my eggs onto my sky portion of the box card, then adhered my grass just behind my bow on the inside front of the card box...the next added my bunny to the inside on top of the grass piece so it looks as if he's sitting in the grass...added a jaunty blue bow cut out of the aqua marine Stardream Metallic card stock...I then glued my butterflies to the acetate arch...so they sppear to be floating-YAY! They are cut from Rose Quartz and Coral Stardream Metallic card stock
**I chose to heat emboss my sentiment with my Marvy Heat gun after using my EK Success powder tool then stamping my sentiment with Versamark ink
**I added a white daisy to the bow front that I cut from Basis white cover stock...Construction is finished...I jazzed things up with Nuvo Crystal drops. This card folds flat for mailing which is so fun!!!
Recipe:
- Cut Card Stock.com products-Glue tape plus, Stardream Metallic Coverstock-aquamarine HERE, coral HERE, rose quartz HERE and kunzite HERE, Basis Card Stock-brown HERE, Basis white 110lb Cover Stock HERE
- Jaded Blossom-Flower dies, Spring dies 1(version 2), Spring dies 2, Bow dies, Ric Rac Topper, Border dies, Scallop Caddy dies, Easter Treat Circles
- Spectrum Noir marker CG1
- Acetate
- Nuvo Crystal Drops-Ivory Seashell
- Versamark
- Stampendous Detail white embossing powder
- EK Success powder tool
- Marvy Heat Tool
- Vagabond Die Cutting Machine
- Fiskars paper cutter
- Tweezerbee tweezers
- Martha Stewart score board


10 comments:
Gorgeous!!
This is so amazing!! I love how you've decorated the box!! It's so gorgeous!! Your tutorial is fabulous, too!! Love, love this!! Have a great day!! Big hugs :)
Lisa
A Mermaid's Crafts
Yes, box cards are always a hit, and this is a particularly adorable one! Love it!
Adorable & Amazing!
Have a wonderful day my friend,
Migdalia
Crafting With Creative M
This box card is ADORABLE!! Love all the details!! Awesome project!!! LOVE it!! Have a great day.
Gerda
This card is fantastic! I love all the stitching.
Love this so much!! Fabulous design! I hope to get that die soon so I can make one too!!! <3
Absolutely beautiful. Can I live in your craft room?
WOW!! This looks amazing!! Love the soft colours with the brown bunny! Fantastic!!
I sure do like ALL the pictures to show the steps along the way! Super cute treat box with the bunny and butterfly!
Post a Comment