Hi-this is my 2nd post of the day...if you were looking for my Jaded Blossom release post-pan down-it's directly after this post for CutCardStock.com
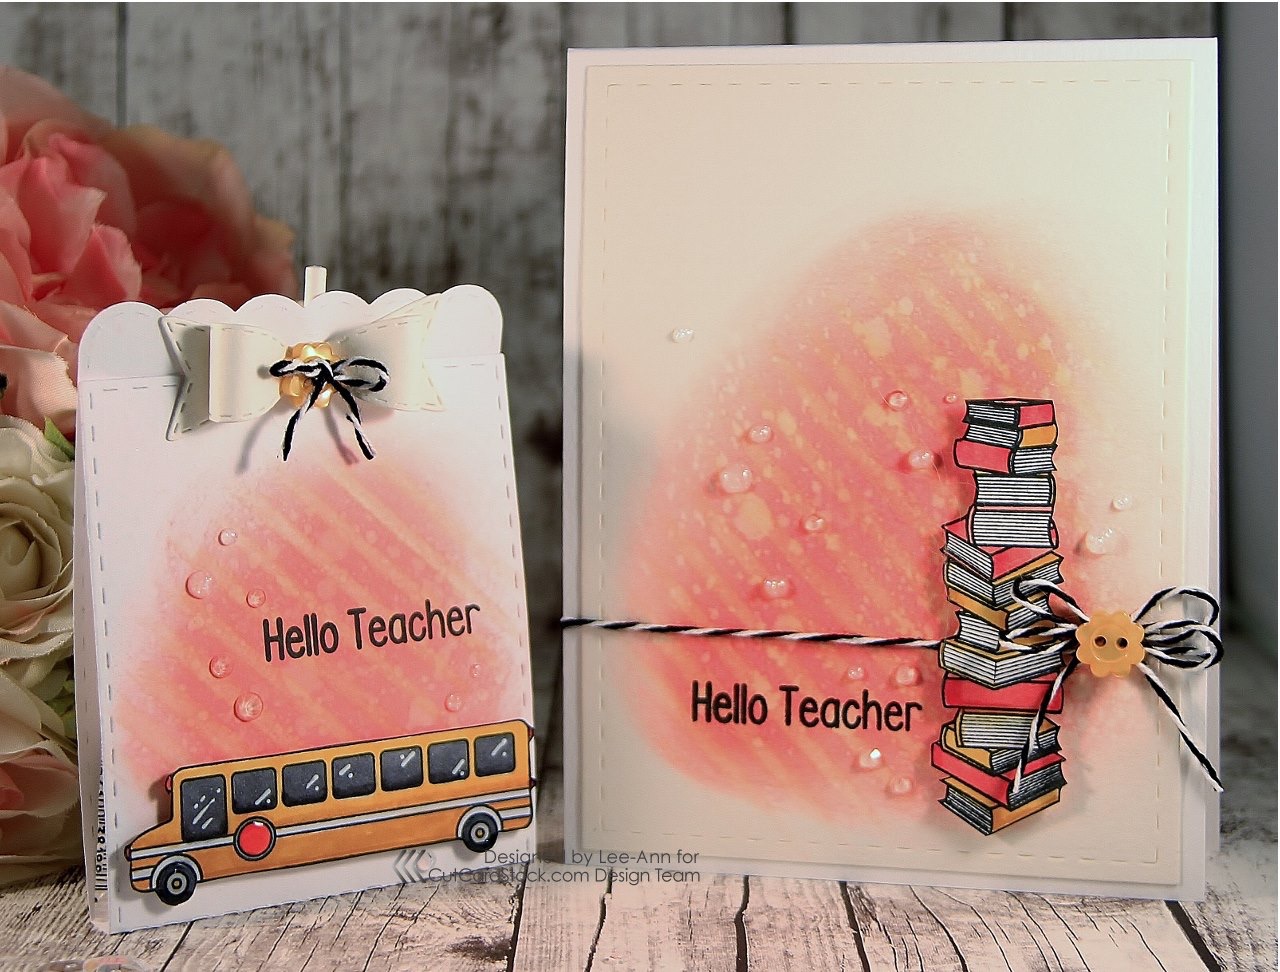
Hi everyone...Back to School is soon approaching here in Canada...I know a lot of kids in the US are already back...do you make back to school treats and cards?? I do...I have a quick card and Lollipop treat to share for back to school...easy peasy. Do you mix white and ivory? You totally should...I was surprised how nice it looks...and since white and ivory card stock is on sale at CutCardStock.com...the time to try it is NOW! Thanks for stopping by...Lee-Ann from Snappy Scraps
**pan down to see a step to step tutorial on how to make this set...and to see the recipe and pics galore!!!
***click HERE to check out the CutCardStock blog and store

-chose your supplies

-Cut a piece of Basis Natural card stock with a 4x5.25" rectangle die...and cut and score a piece of white Basis Coverstock into an A2 size card

-Stamp your chosen images with Simon Says Intense Black ink using a Misti stamping tool on Cougar white 80lb card stock

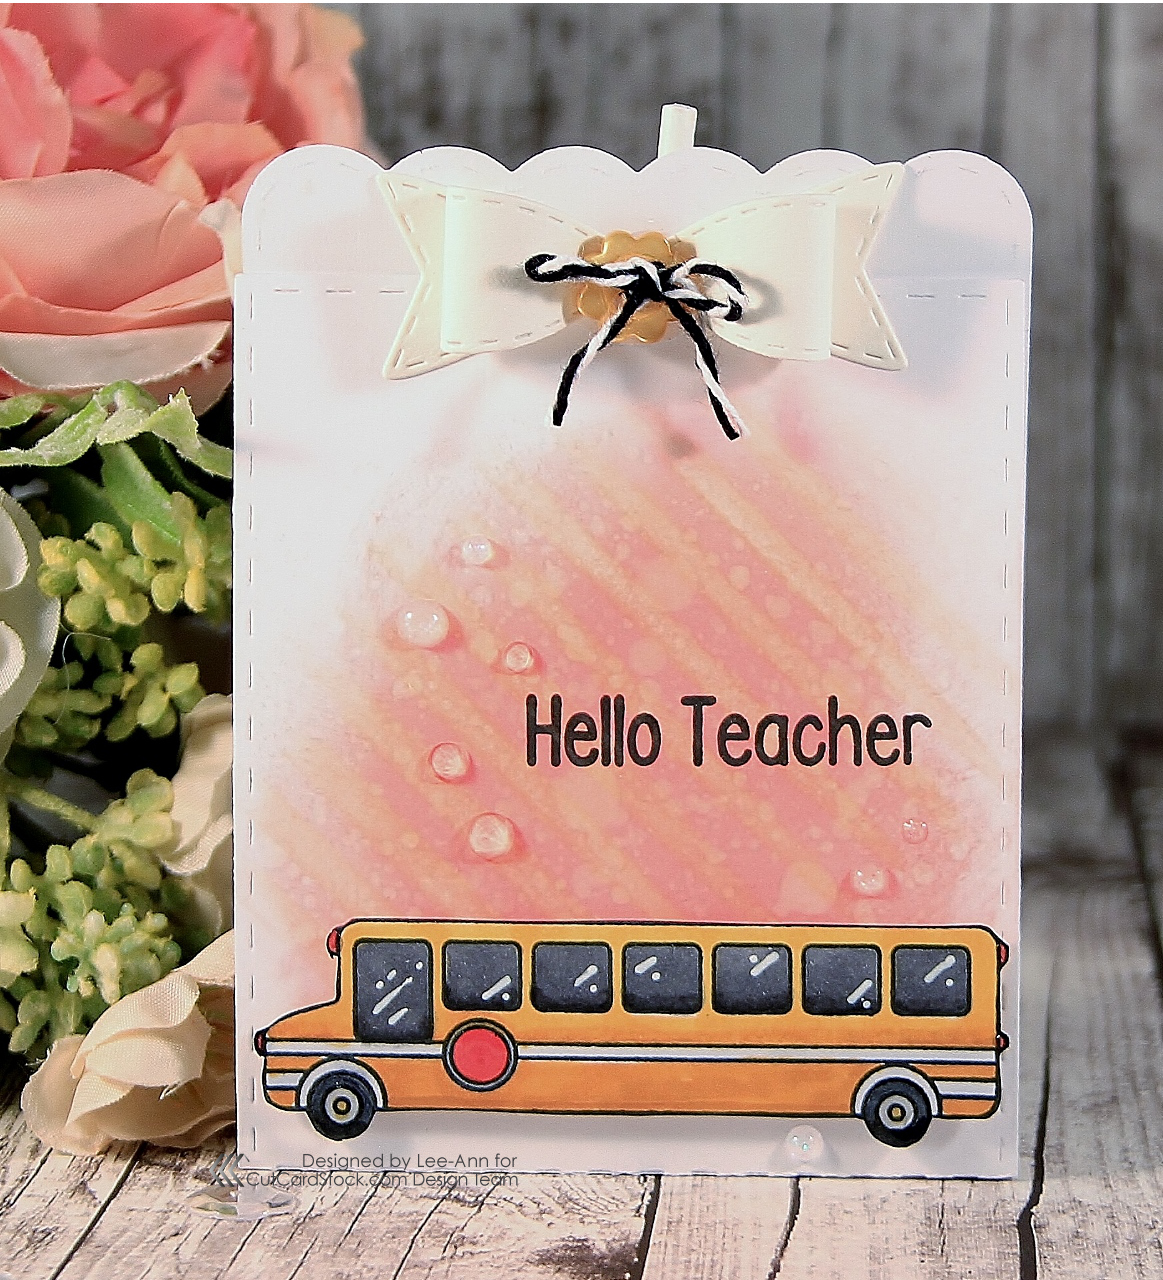
-Cut a Lollipop die out of Basis white cover stock

-ink blend with a Ranger Ink blending tool and Abandoned Coral Distress Oxide ink on your 2 die cuts

-spray water droplets using a Ranger distress sprayer and let sit for a few minutes and wick it up with a paper towel

-chose your marker colours-these are Spectrum Noir Alcohol Markers

-colour your images with your markers and then fussy cut your images and then use a black marker to color the edges of your images

-get your stencil and then use a wipe to damp through the stencil and remove some ink...you get a cool striped effect
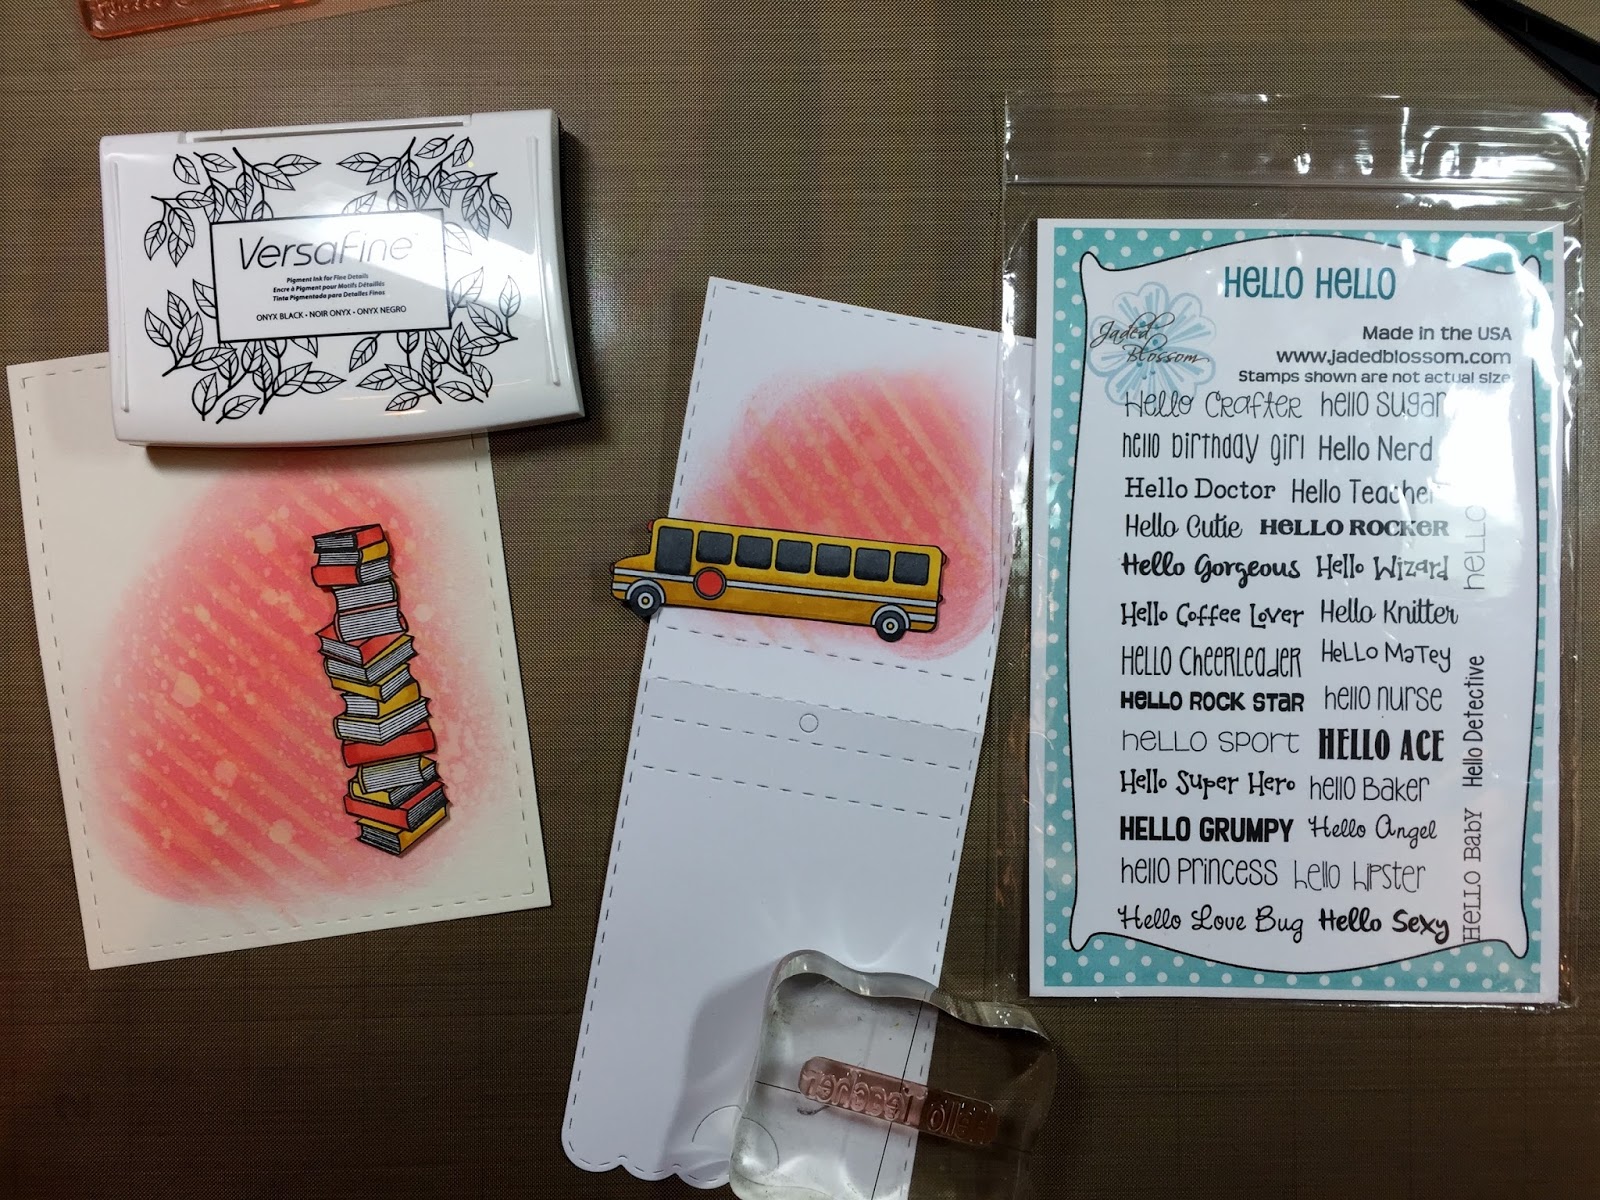
-Get your sentiments and stamp your sentiments using black ink

-cut a paper bow using bow dies and Basis natural card stock and apply it to the front of the Lollipop holder...then add a button and twine to the center...add and tie twine to your card front and then pop your images up using foam tape for dimension...then add Sparkling crystals and dots of Nuvo Glitter Drops (white Blizzard)


Recipe:
- CutCardStock-Basis Cover Stock 110lb white-HERE, Cougar white 80lb card stock-HERE, Basis Natural 80lb card stock A7-HERE
- Jaded Blossom-Lollipop dies, Card mat dies, Bow dies, Hello hello, School Panels
- Versafine Onyx Black ink
- WRMK black and white twine
- Stampin Up yellow buttons
- Nuvo Glitter Drops-White Blizzard
- Studio Katia-Sparkling Crystal mix
- Simon Says Diagonal Stripes Stencil
- Spectrum Noir-GB4, GB6, CR1, CR10, IG2, IG5, IG8, IG9
- Memento Tuxedo Black marker
- Simon Says Intense Black
- Glossy Accents
- Signo White gel pen
- Ranger Distress Oxide Ink-Abandoned Coral
- Misti
- Vagabond die cutting machine
- Fiskars Paper Trimmer
- Ranger Distress Sprayer
- Baby Wipes
- Ranger Distress Circle blending tool
- Signo white gel pen
- ATG tape gun
- Ranger Multi Mat Medium
9 comments:
Wow!! Awesome set! Love the inking!!
What a fabulous set!! Love it!! Have a great day,
Gerda
These are so beautiful!! I love the inked backgrounds!! Your tutorial is fabulous!! Have a great day!! Big hugs :)
Lisa
A Mermaid's Crafts
These are FANTASTIC Lee-Ann! LOVE the way you did the background... Wonderful coloring as well! Have a lovely day! :)
Theresa
Theresa’s Crafty Creations
Beautiful!!
The inking techniques look so awesome! Very pretty!
Great tutorial!! Such a fun project for back to school!
Sherrie K
Beautiful! A wonderful set my friend!
Have a wonderful day,
Migdalia
Crafting with Creative M
these are cute ! love the background and tutorial !
Post a Comment